Node.js Integration Guide

In this document we will guide you through the steps required to connect a Node.js based application to Persio.
A) Create a new Node.js Data Source in Persio
To create a new Data Source it is a pre-requisite that you configure a Workspace and a Data Warehouse connection first. If you haven't done that so far please refer to the Data Warehouse Connection Overview.
To add a Node.js Data Source to Persio follow the step-by-step guide below.
-
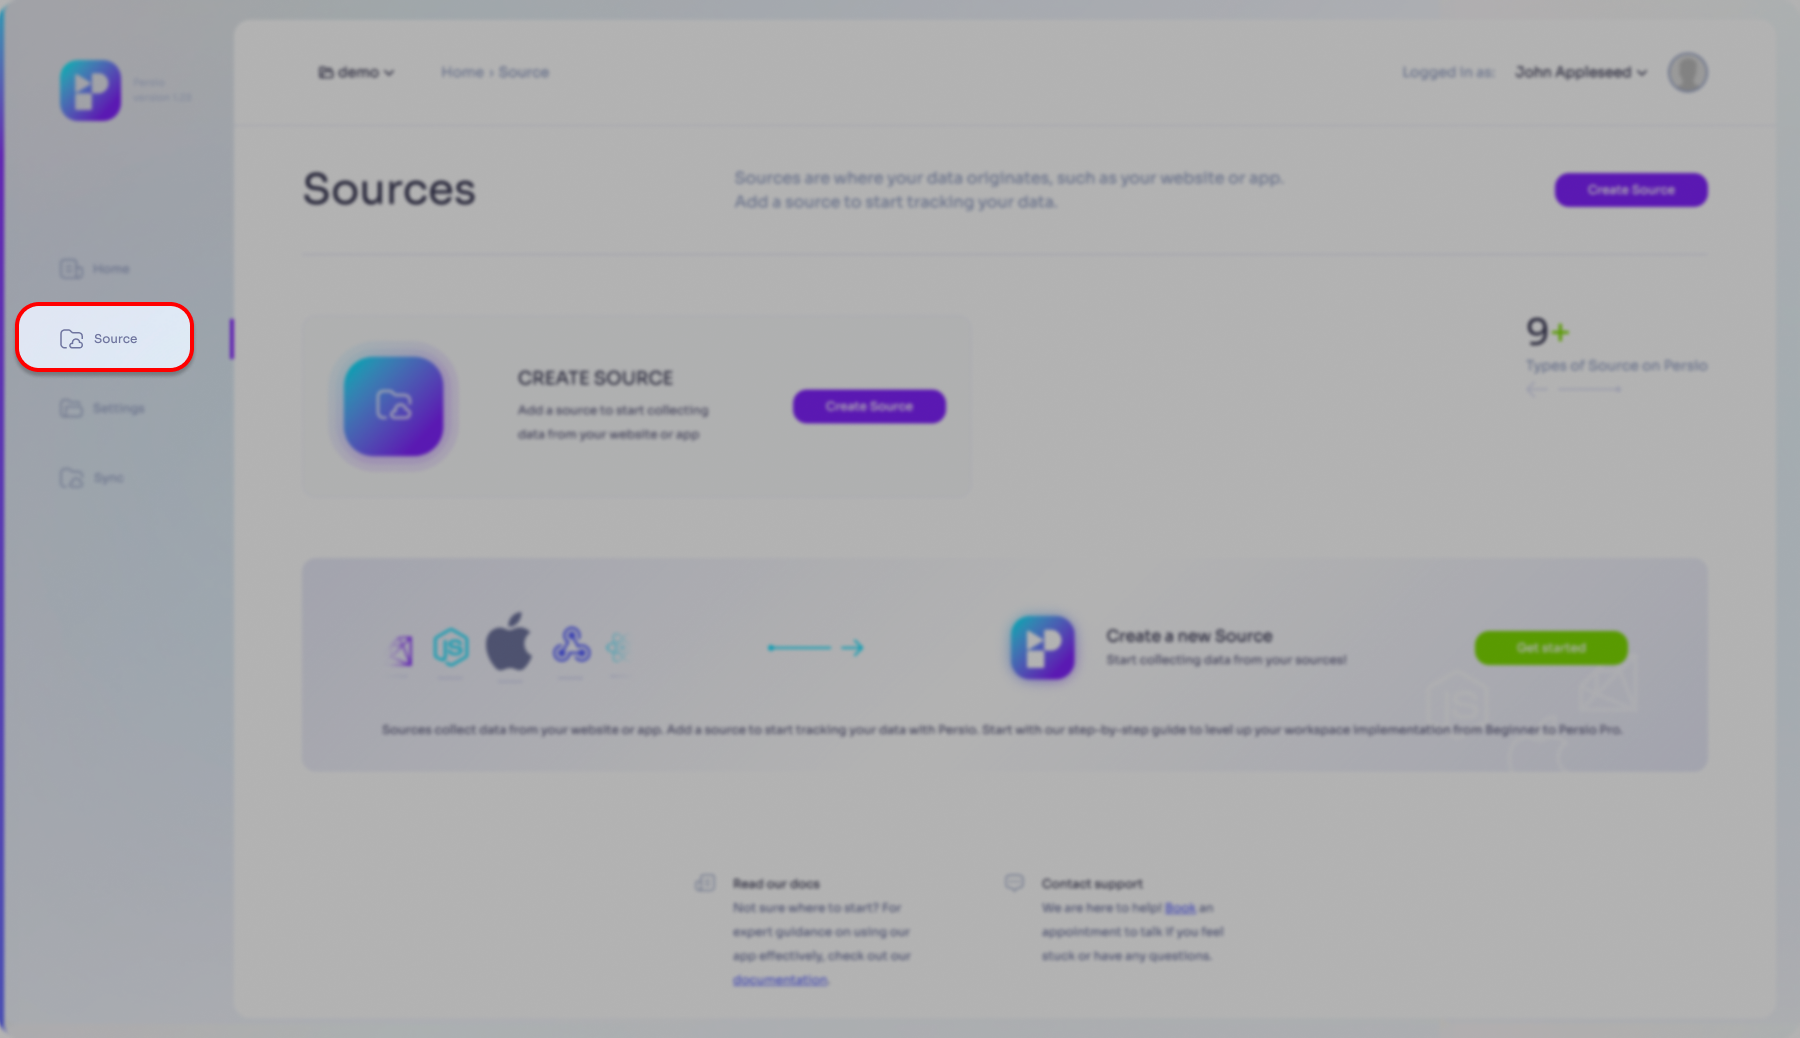
Log in to Persio
-
Go to the 'Sources' sub-menu.
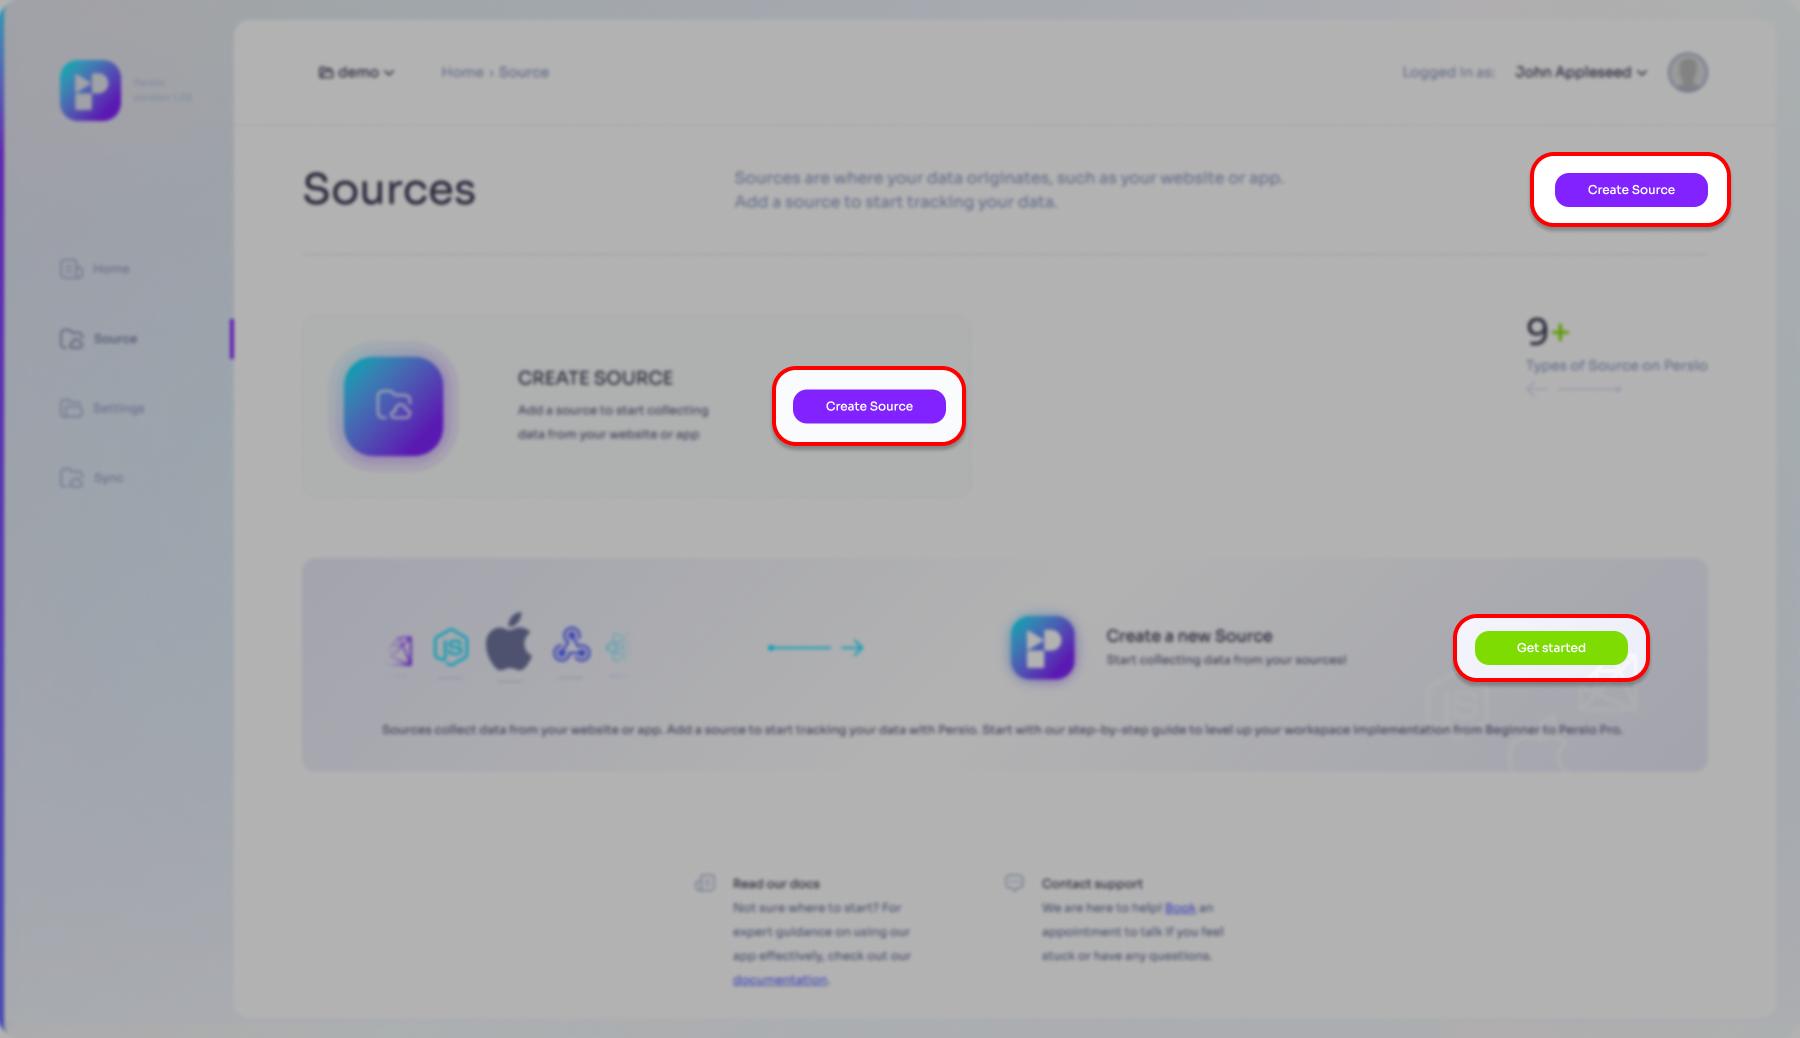
- Please select what is the most correct for you:
- my first Data Source
- NOT my first Data Source
Click one of the 'Create Source' buttons or the 'Get started' button
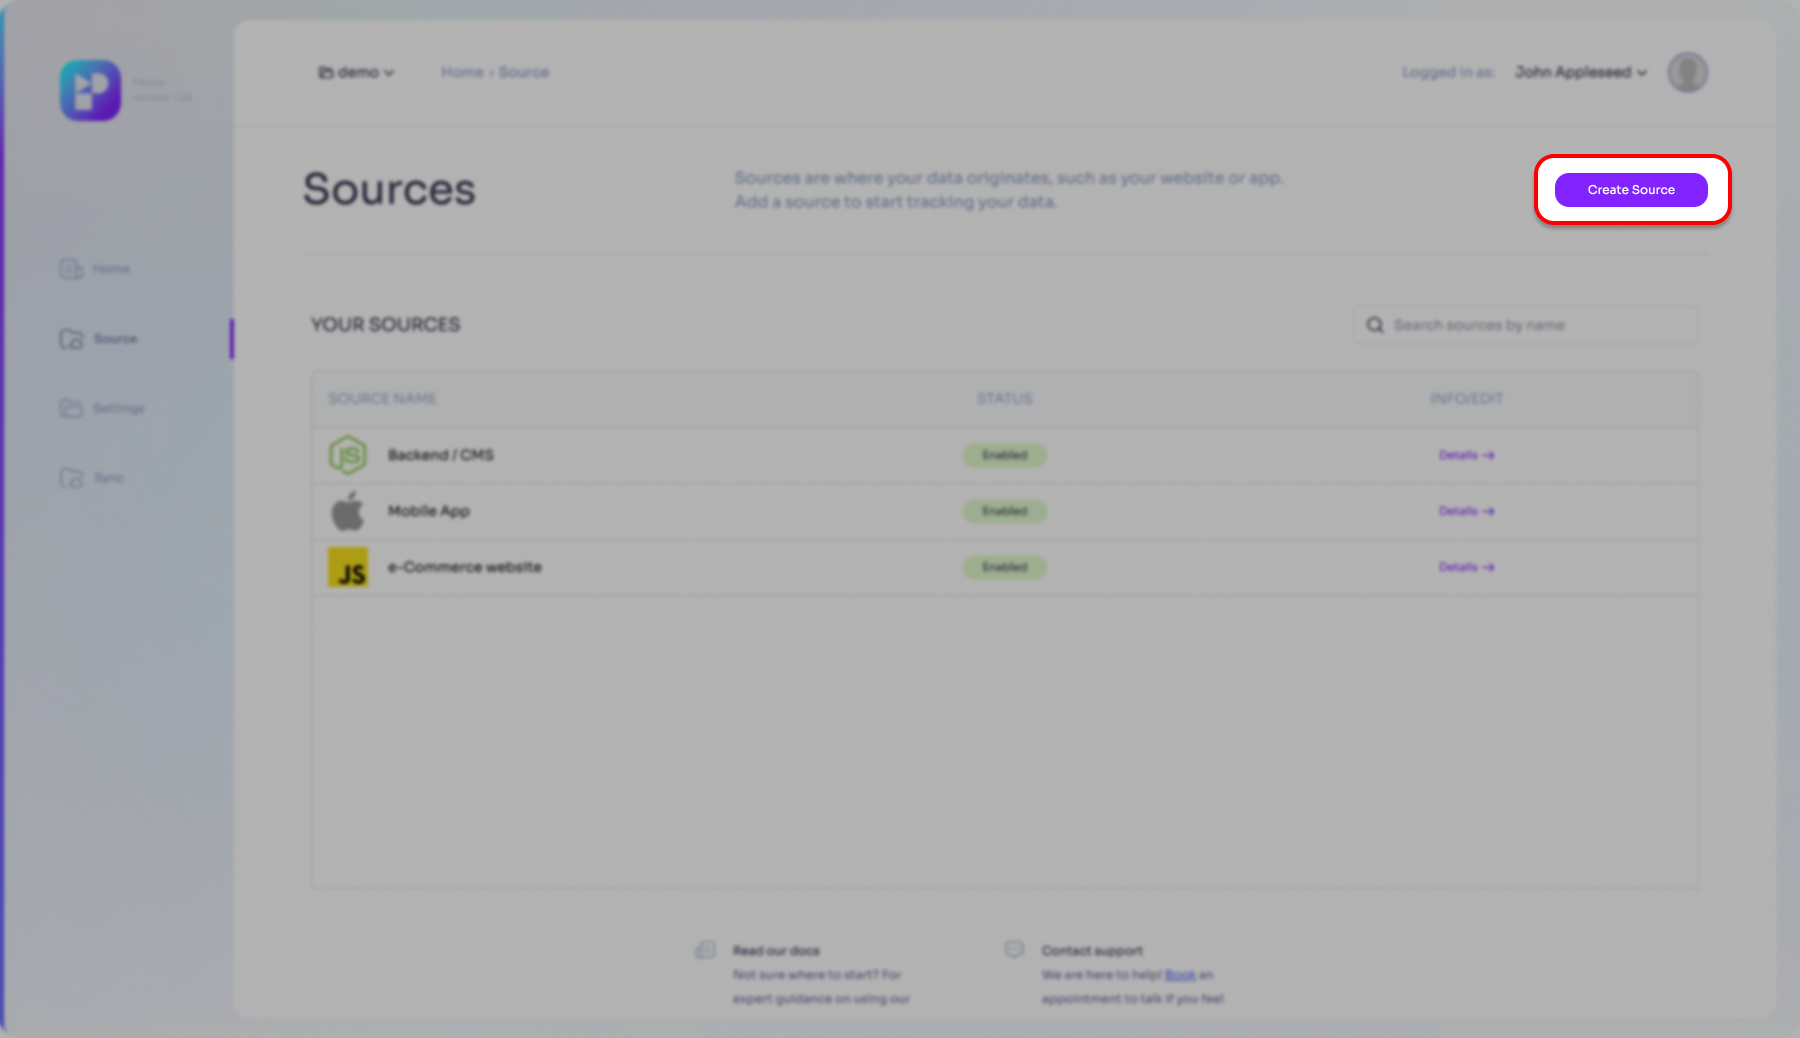
Click the 'Create Source' button
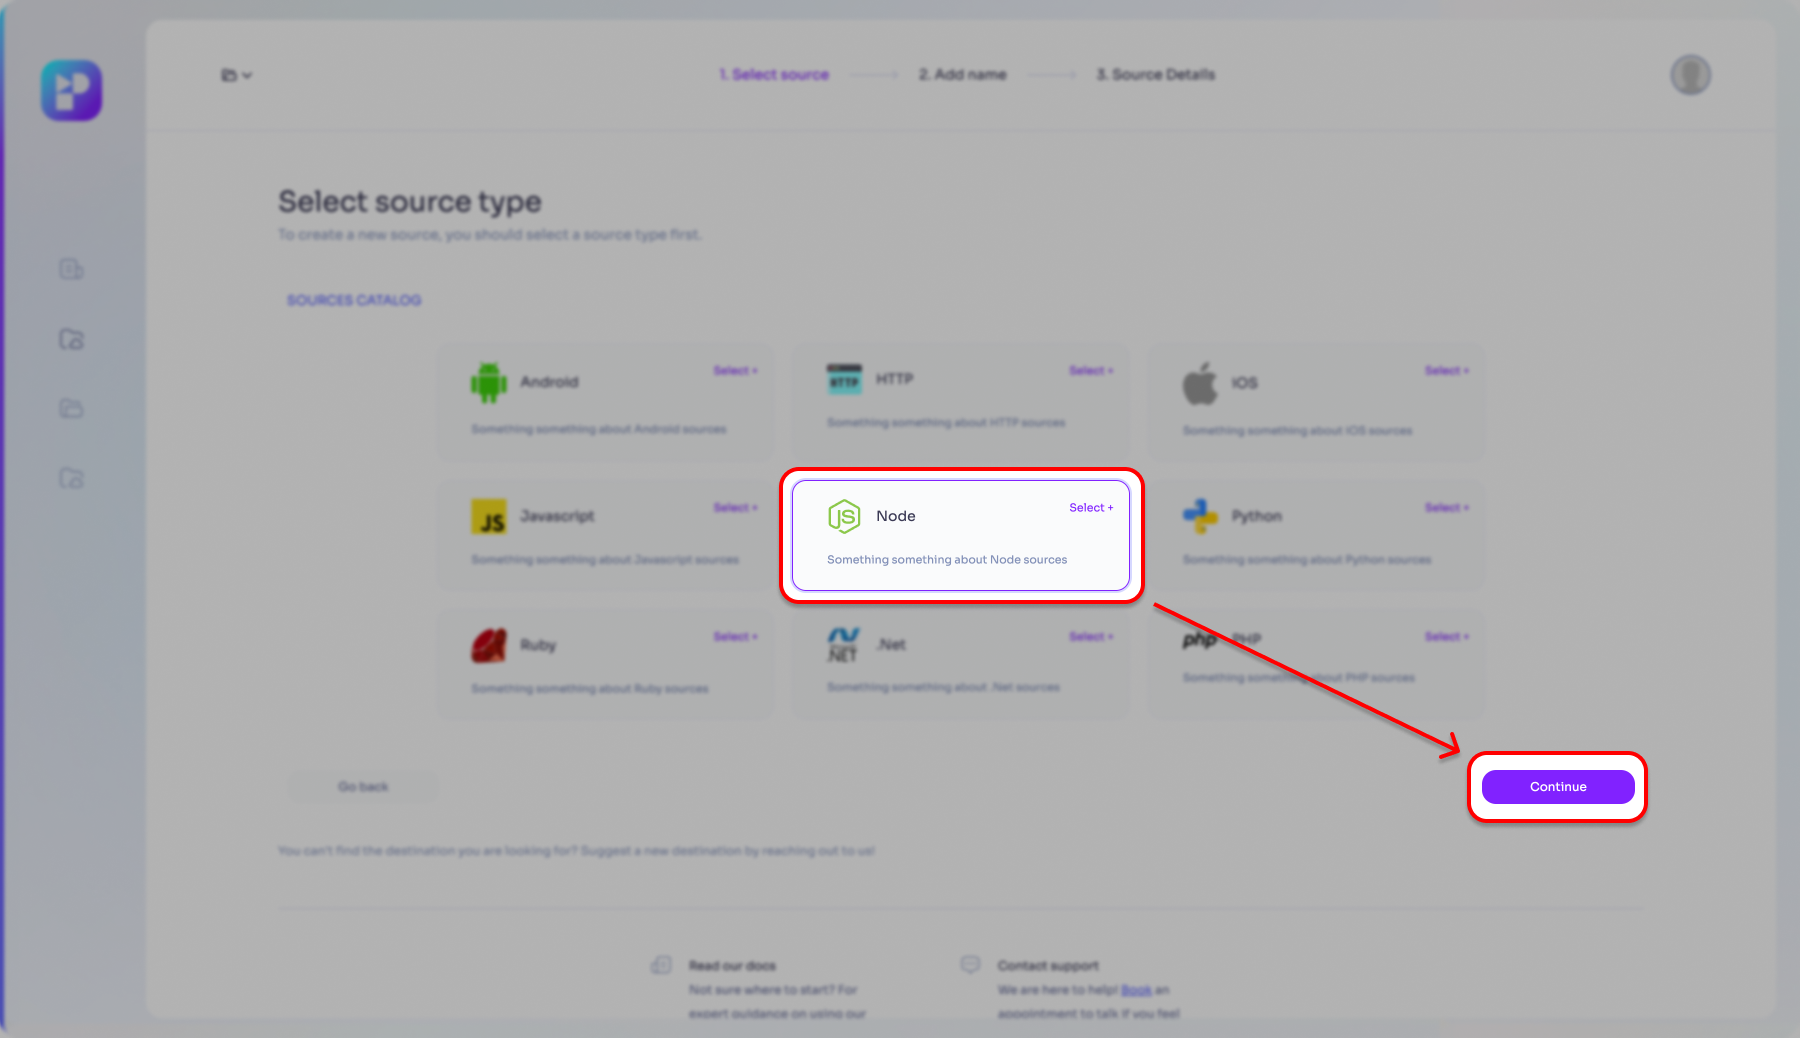
- Select the Node.js Data Source option then click the 'Continue' button.
- Enter a name for your application (make sure it is an easily recognizable name for ease of general use within Persio), then click the 'Next' button
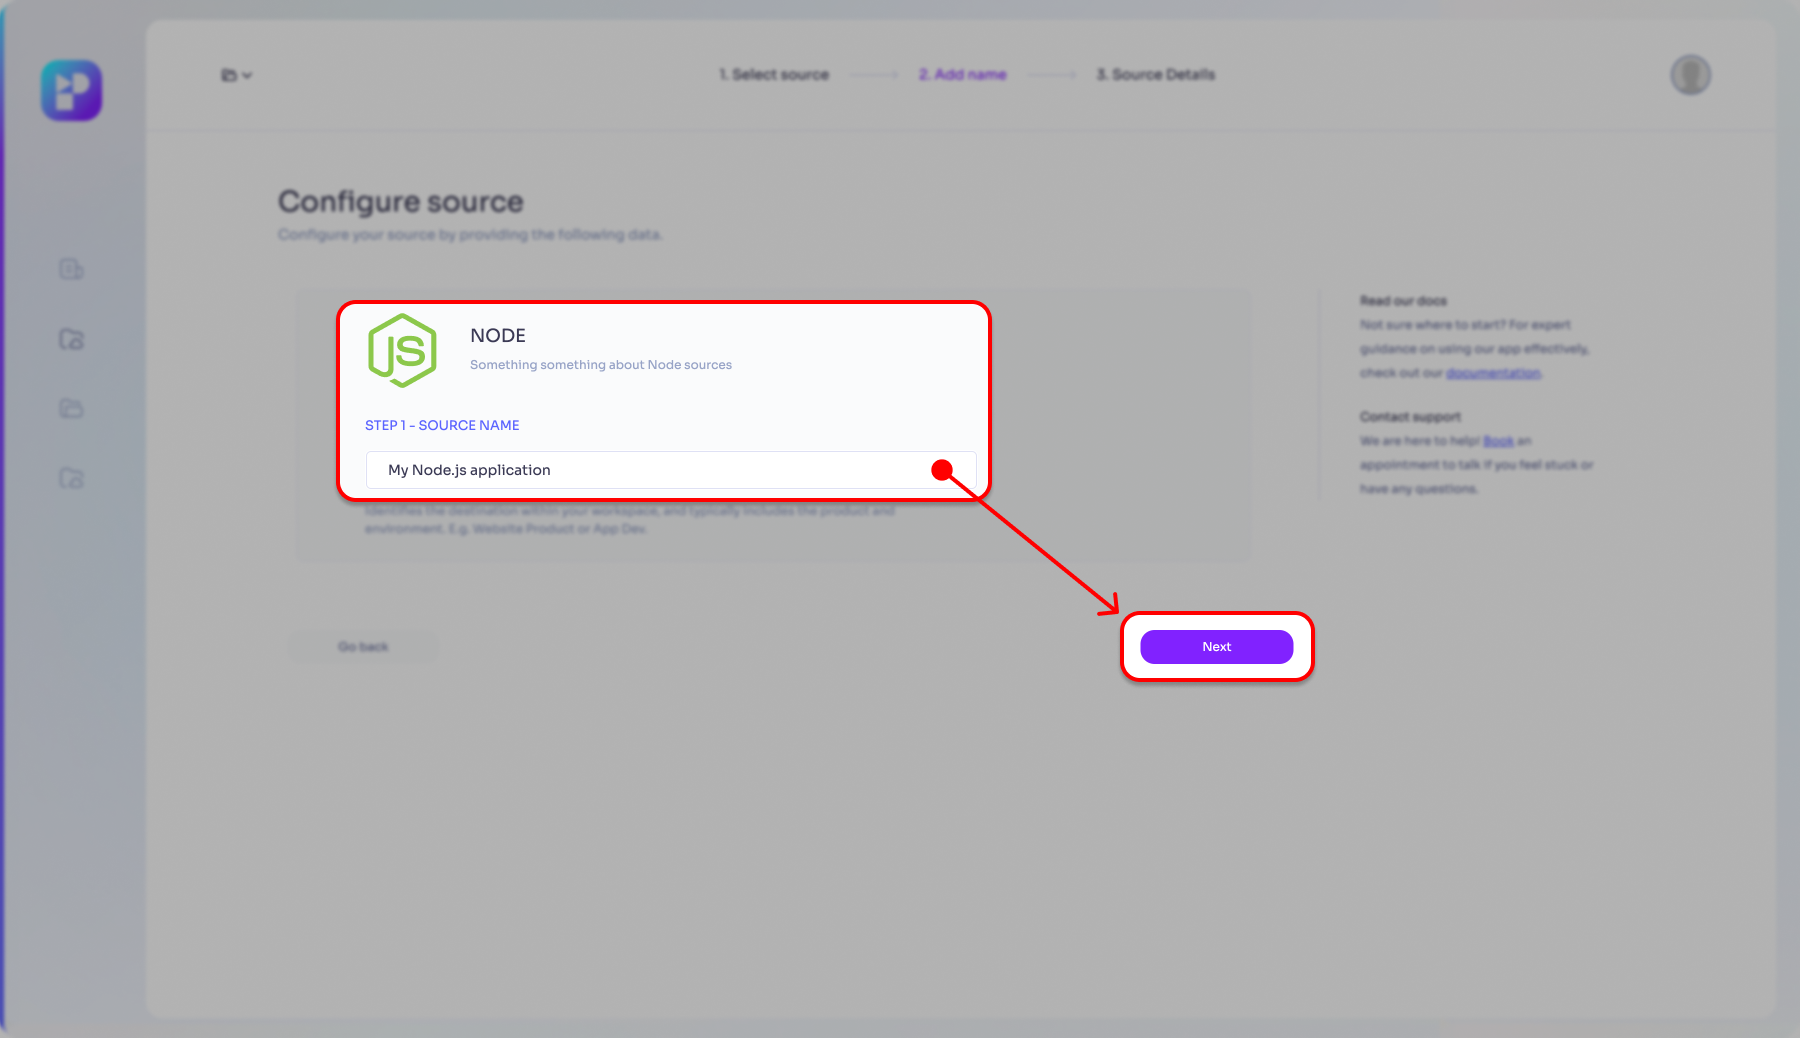
-
After a short background process your Data Source will be prepared and a
WRITE_KEYwill be generated. This is a very important data for achieving the integration between your application and Persio; you will need to share this key with your application development team.

- Click the 'Finish' button to finalize the Data Source entry.
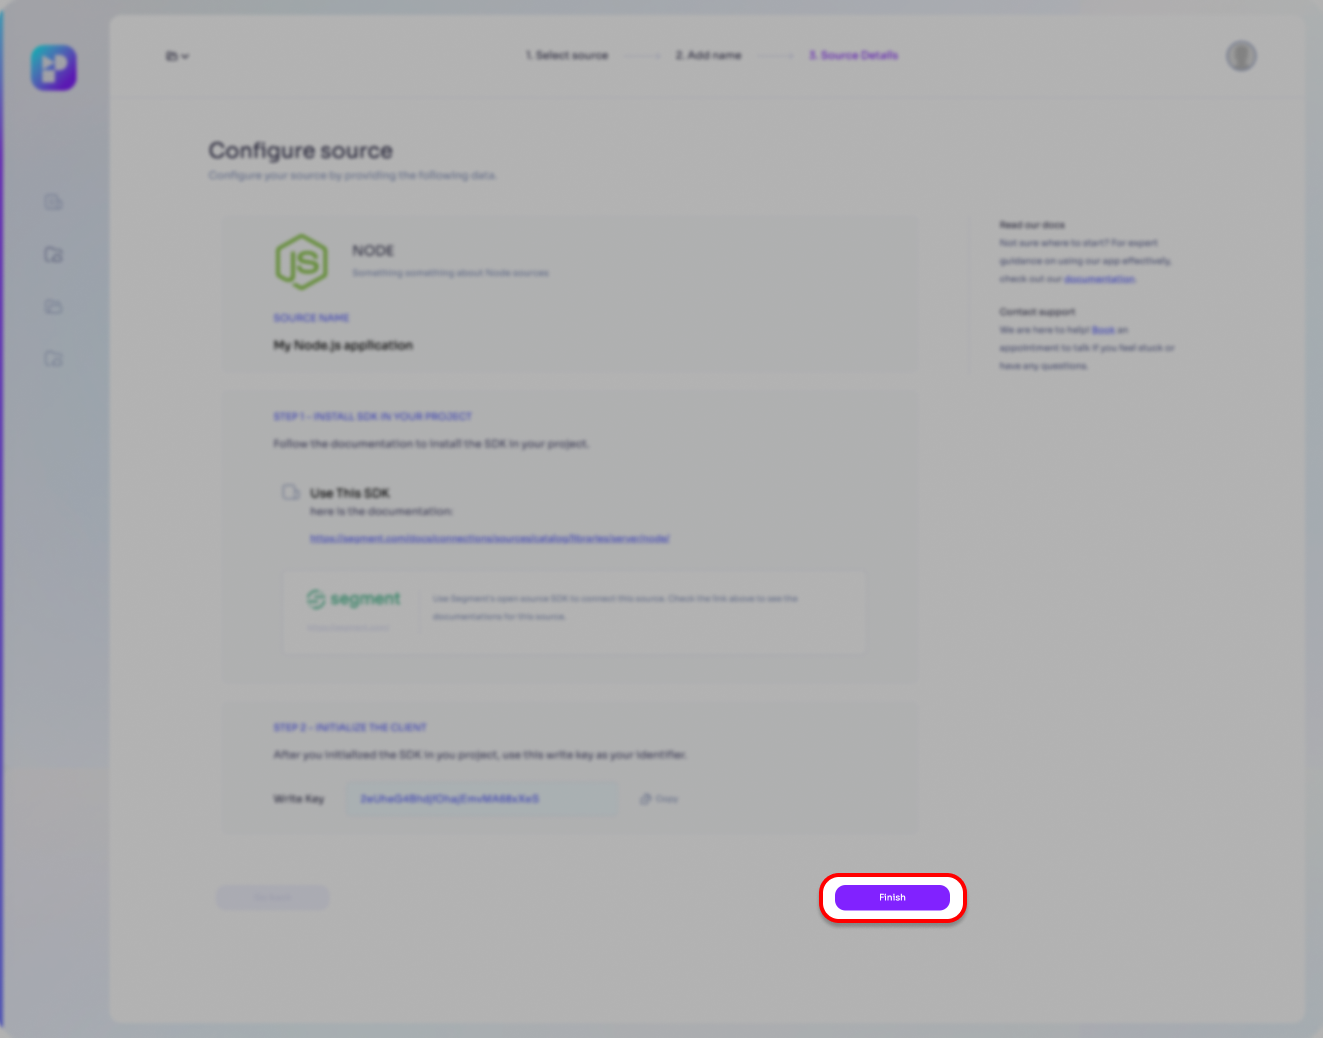
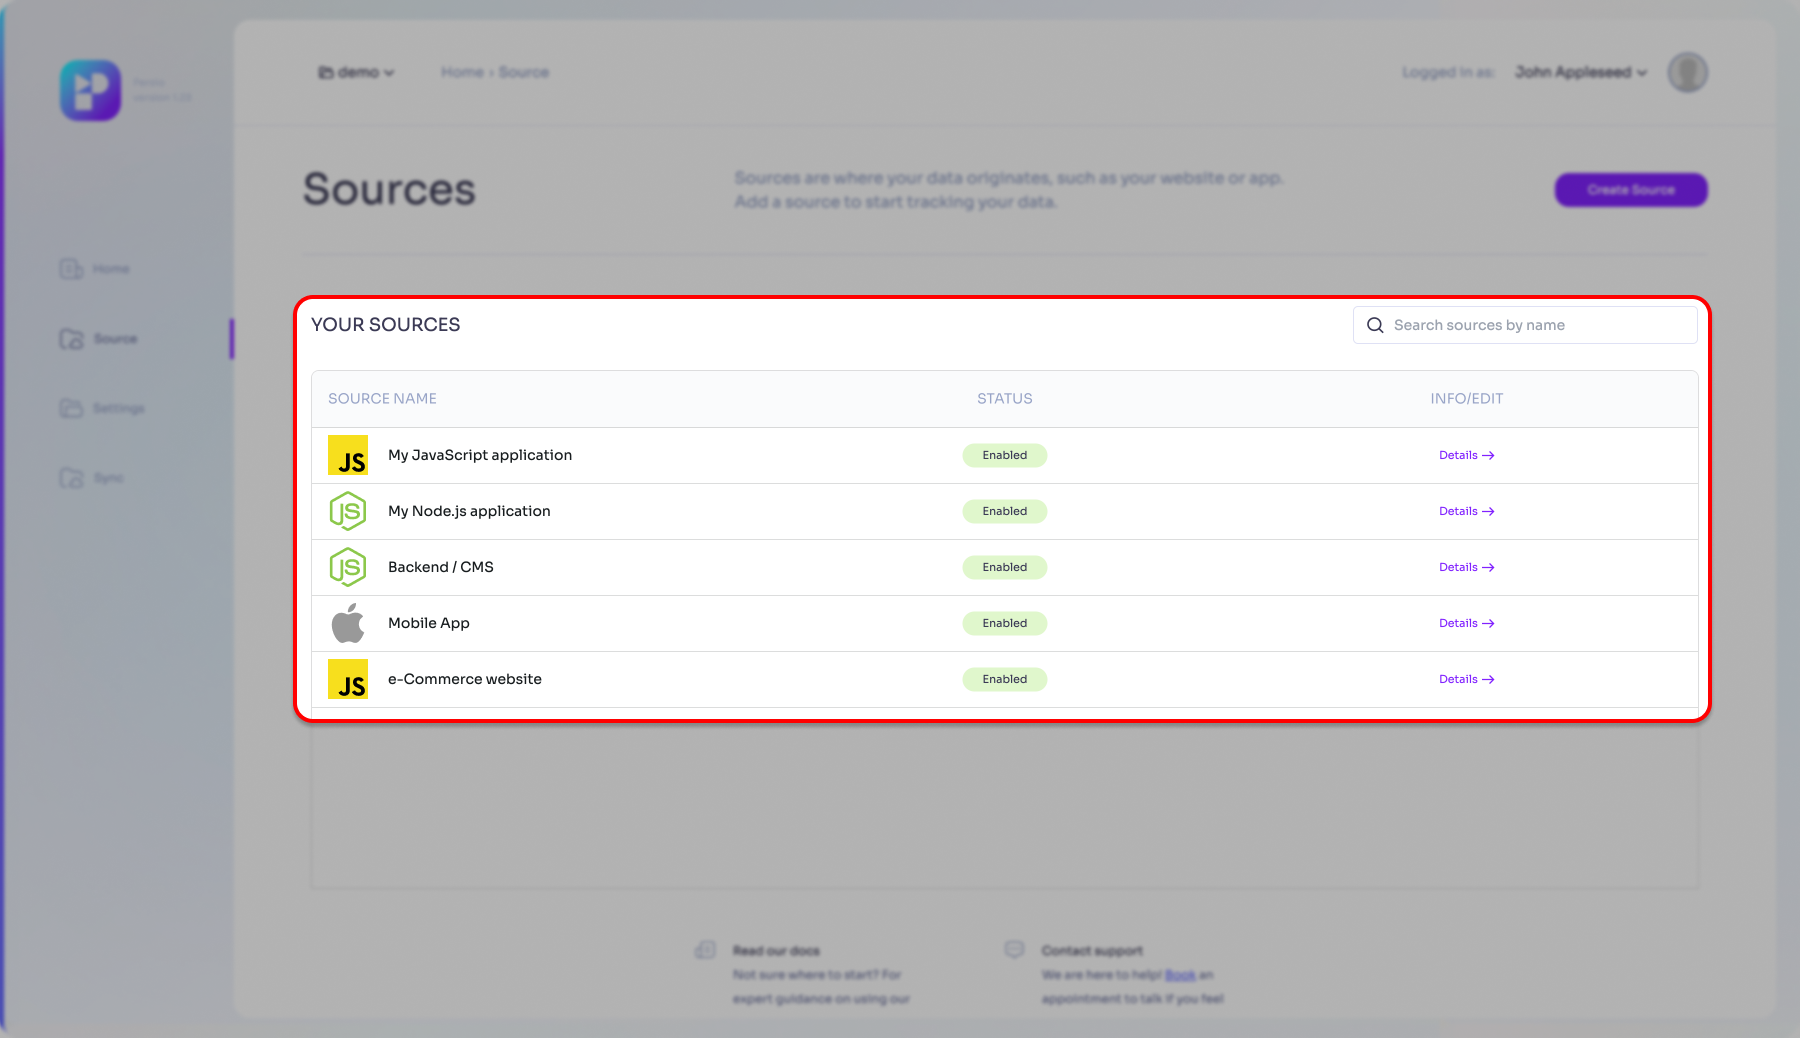
- You will be redirected back to the Sources page where your newly created Data Source will appear on the list of Data Sources, enabled and ready to use.
At this stage you have already configured Persio to accept data from your Node.js application. Now it's is time to continue and prepare your application to be able to send data towards Persio.
B) Configure your Node.js application
As the next step of the process let's prepare your Node.js application as well.
• Install the Node.js SDK library
To integrate a server-side application Persio utilizes Segment's high performance Node.js SDK. Use your preferred package manager to install the required library.
- npm
- pnpm
- yarn
npm i --save @segment/analytics-node
pnpm i --save @segment/analytics-node
yarn add --save @segment/analytics-node
When you install a library or package in your project, the installation process typically updates your project's package.json file to include the new dependency, ensuring that anyone else working on the project can install the same dependencies with ease. It's a good practice to check your 'package.json' file after installation to confirm that the library was successfully added. This step is crucial for maintaining the consistency and reliability of your project environment.
If you prefer a more hands-on approach and manage the installation manually you may download the library from here.
• Initialize module and pass your identifier
Please ensure that you pass your own WRITE_KEY identifier that Persio generated for this Data source during the setup process. You can review the step here.
import { Analytics } from '@segment/analytics-node'
const analytics = new Analytics({ writeKey: WRITE_KEY, host: 'https://api.persio.io'});
C) Start Sending Data
To initiate data transfer from your Node.js application to your Data Warehouse through Persio, you will need to activate the data flow by calling one of the standard tracking methods at the right events. In this section we will showcase some simple examples.
For in-depth information on the purpose-specific tracking methods, please consult the comprehensive Tracking Method Guide.
- Example 1.
- Example 2.
The following example demonstrates a scenario in which the Node.js application invokes the Track method when a user successfully created an account for the service.
analytics.track({
    anonymousId: '2d537ee68783f23d324fa83bf3e2f5ee608a6b62',
    userId: '456',
    event: 'New User Registered',
    properties: {
      name: 'John Doe',
      email: '[email protected]',
      plan: 'Free'
    }
});
The next example shows a scenario in where an already registered customer adds a product to the basket. We use the Track method and capture all relevant data for the event.
analytics.track({
    userId: '456',
    event: 'Product added to basket',
    properties: {
      productId: '99876',
      productName: 'GreenField Eco - Milk (35%)',
      productSku: 'MLKECX09'
      productPrice: '1.99'
      productCurrency: 'USD'
    }
});
Once the events are fired and the tracking methods called the data appears in your Data Warehouse shortly after.
Please note that while evaluating Persio, using a Google BigQuery instance without billing details set will result the events captured without being able to access its property details. There will be no preview available.
D) Node.js deep-dive

www.segment.io
For a comprehensive overview and advanced configuration options of the Node.js integration using the Segment SDK, please visit the Segment SDK documentation. This resource provides detailed information to help you effectively utilize the SDK's features and maximize your application's performance.