Android Integration Guide

In this document we will guide you through the steps required to connect an Android application to Persio.
A) Create a new Android Data Source in Persio
To create a new Data Source it is a pre-requisite that you configure a Workspace and a Data Warehouse connection first. If you haven't done that so far please refer to the Data Warehouse Connection Overview.
To add an Android Data Source to Persio follow the step-by-step guide below.
-
Log in to Persio
-
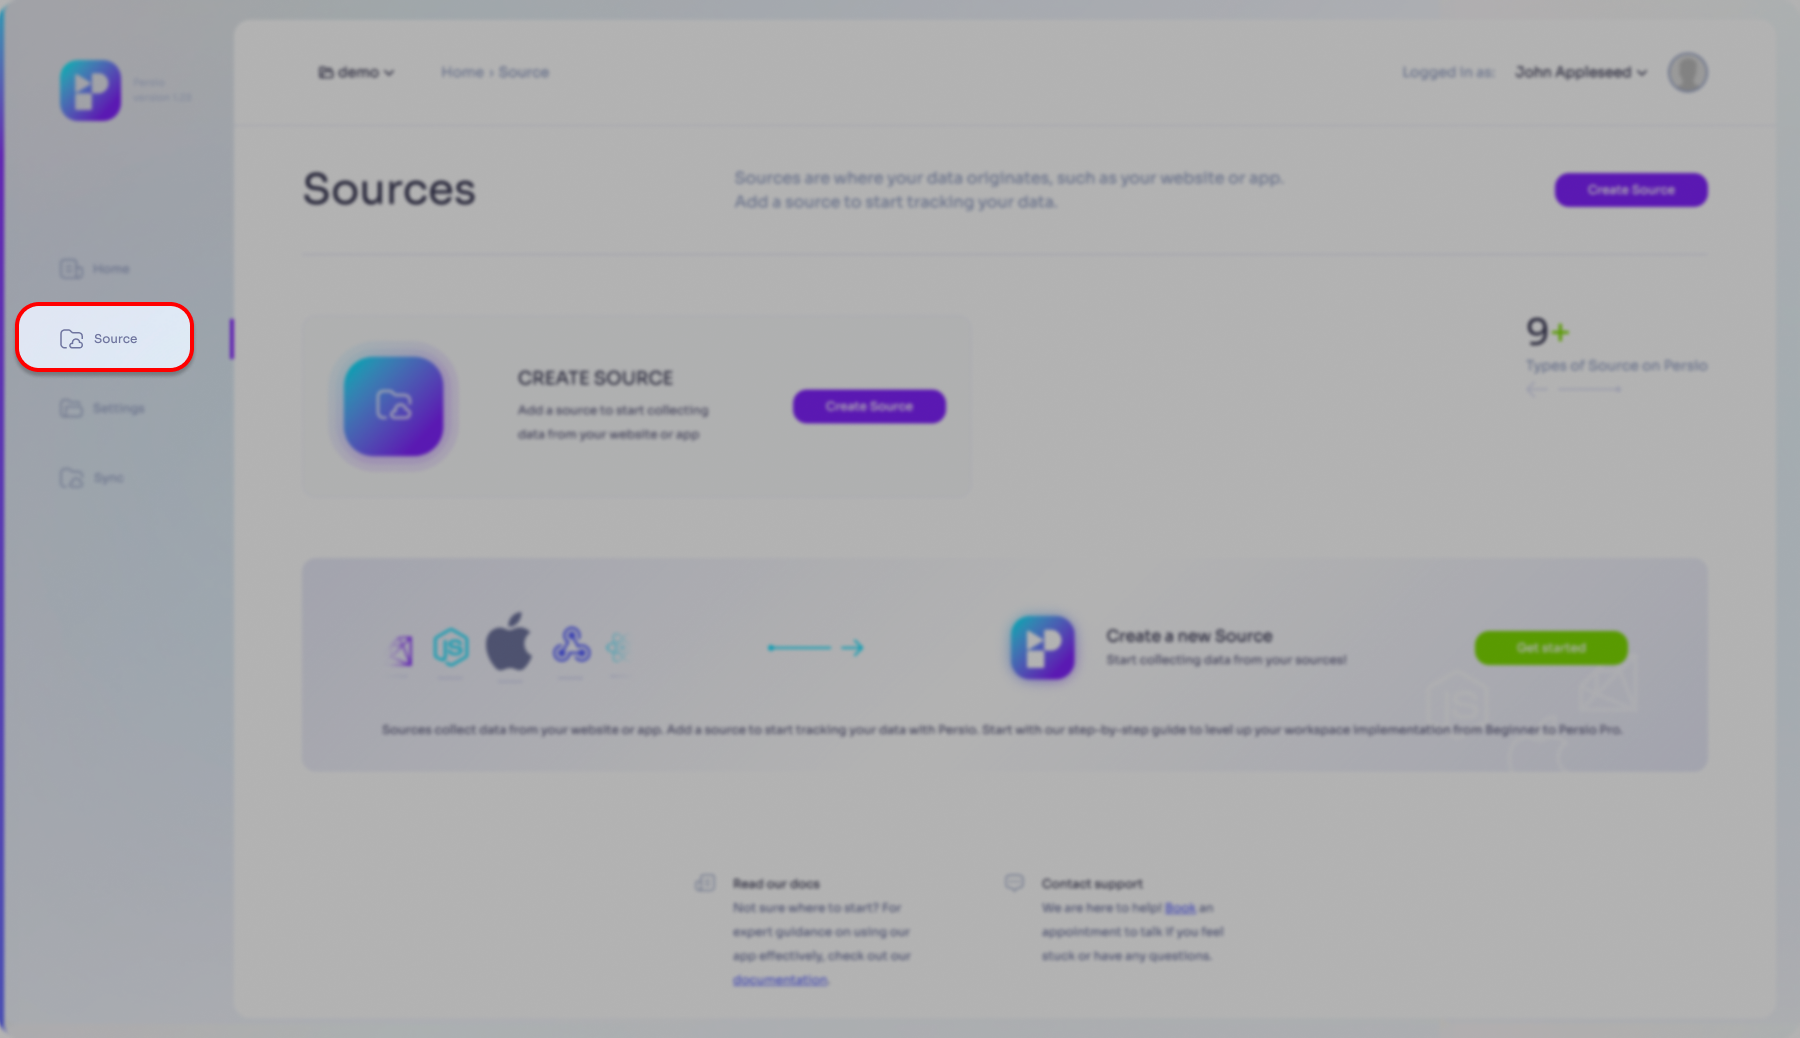
Go to the 'Sources' sub-menu.
- Please select what is the most correct for you:
- my first Data Source
- NOT my first Data Source
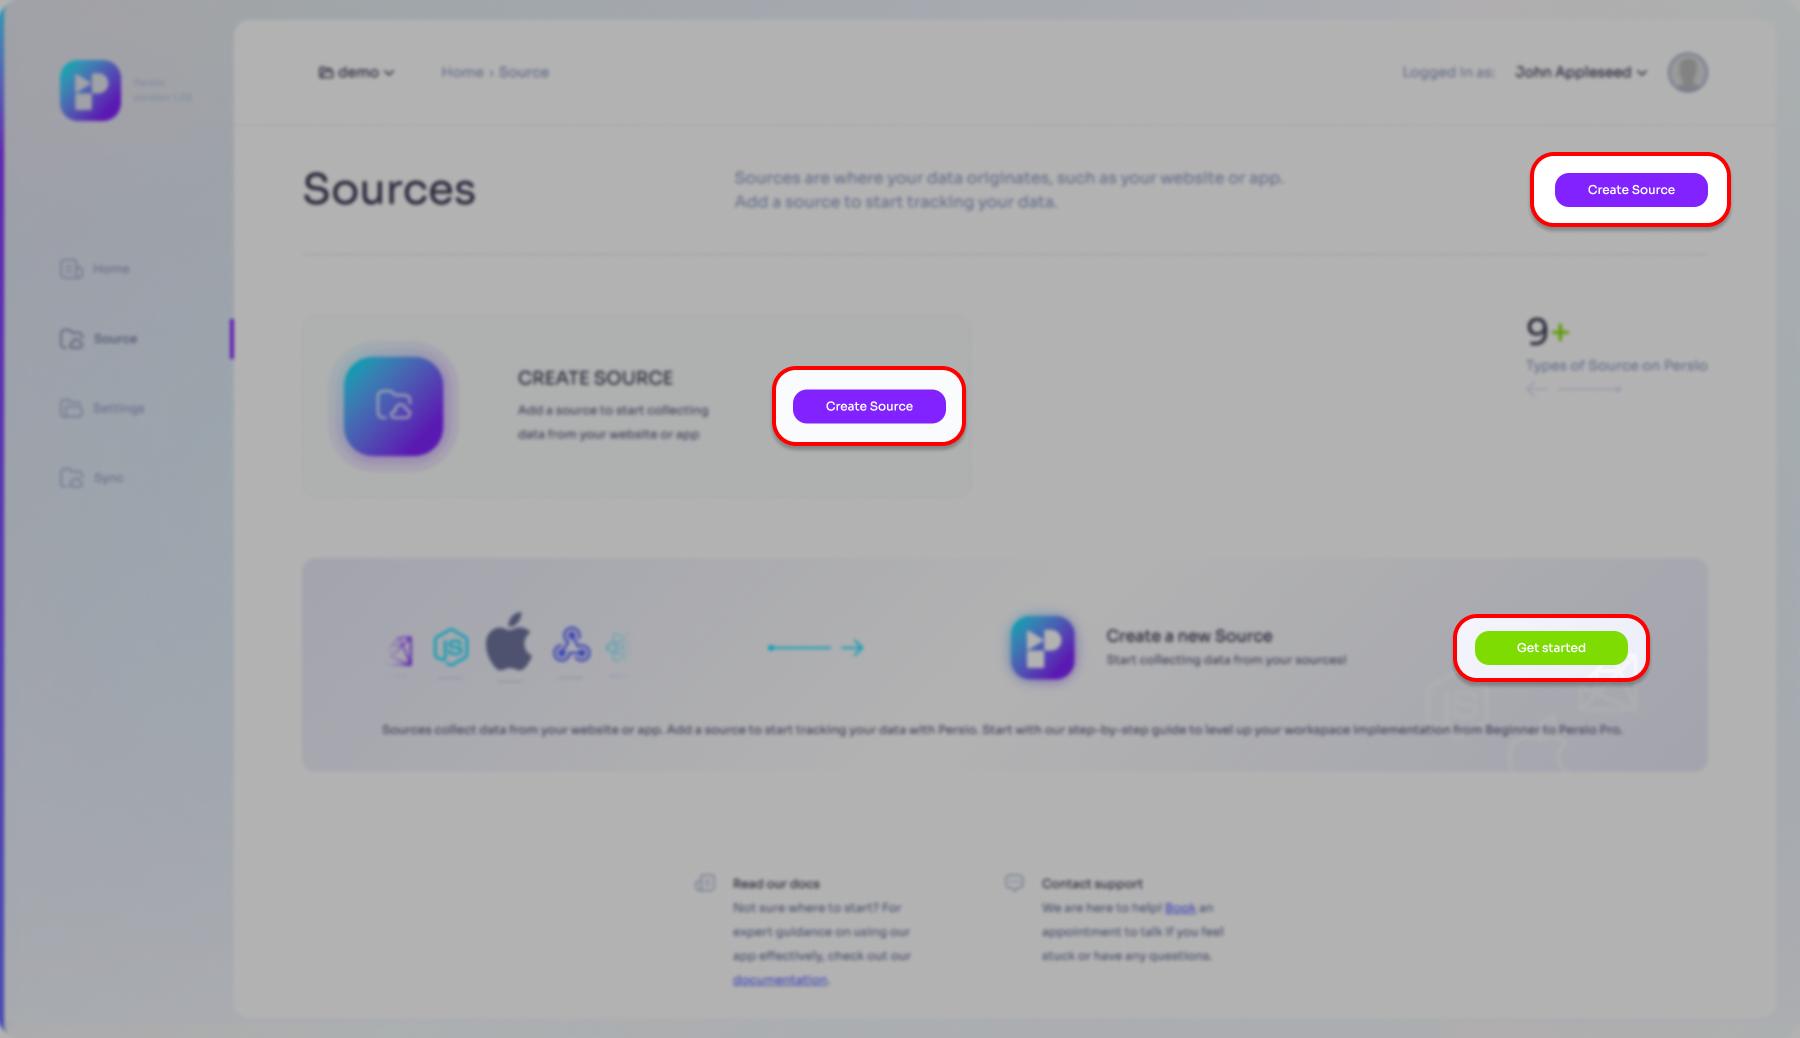
Click one of the 'Create Source' buttons or the 'Get started' button
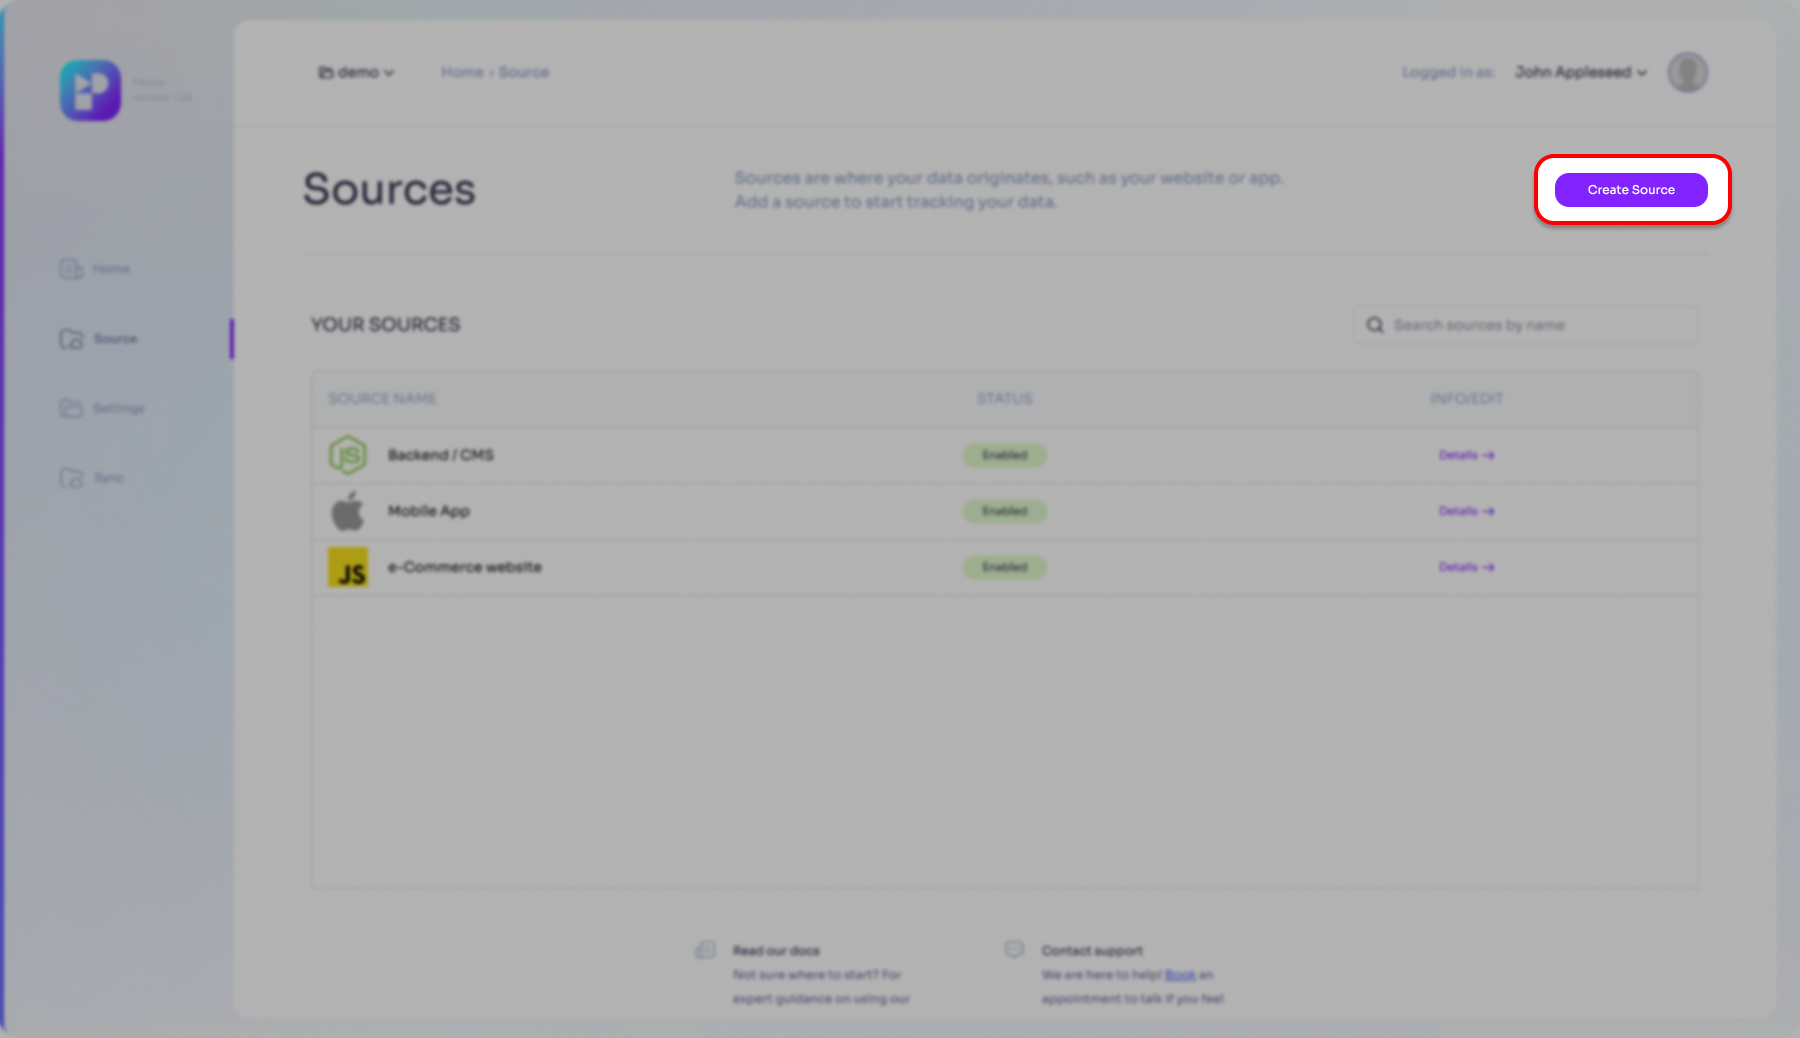
Click the 'Create Source' button
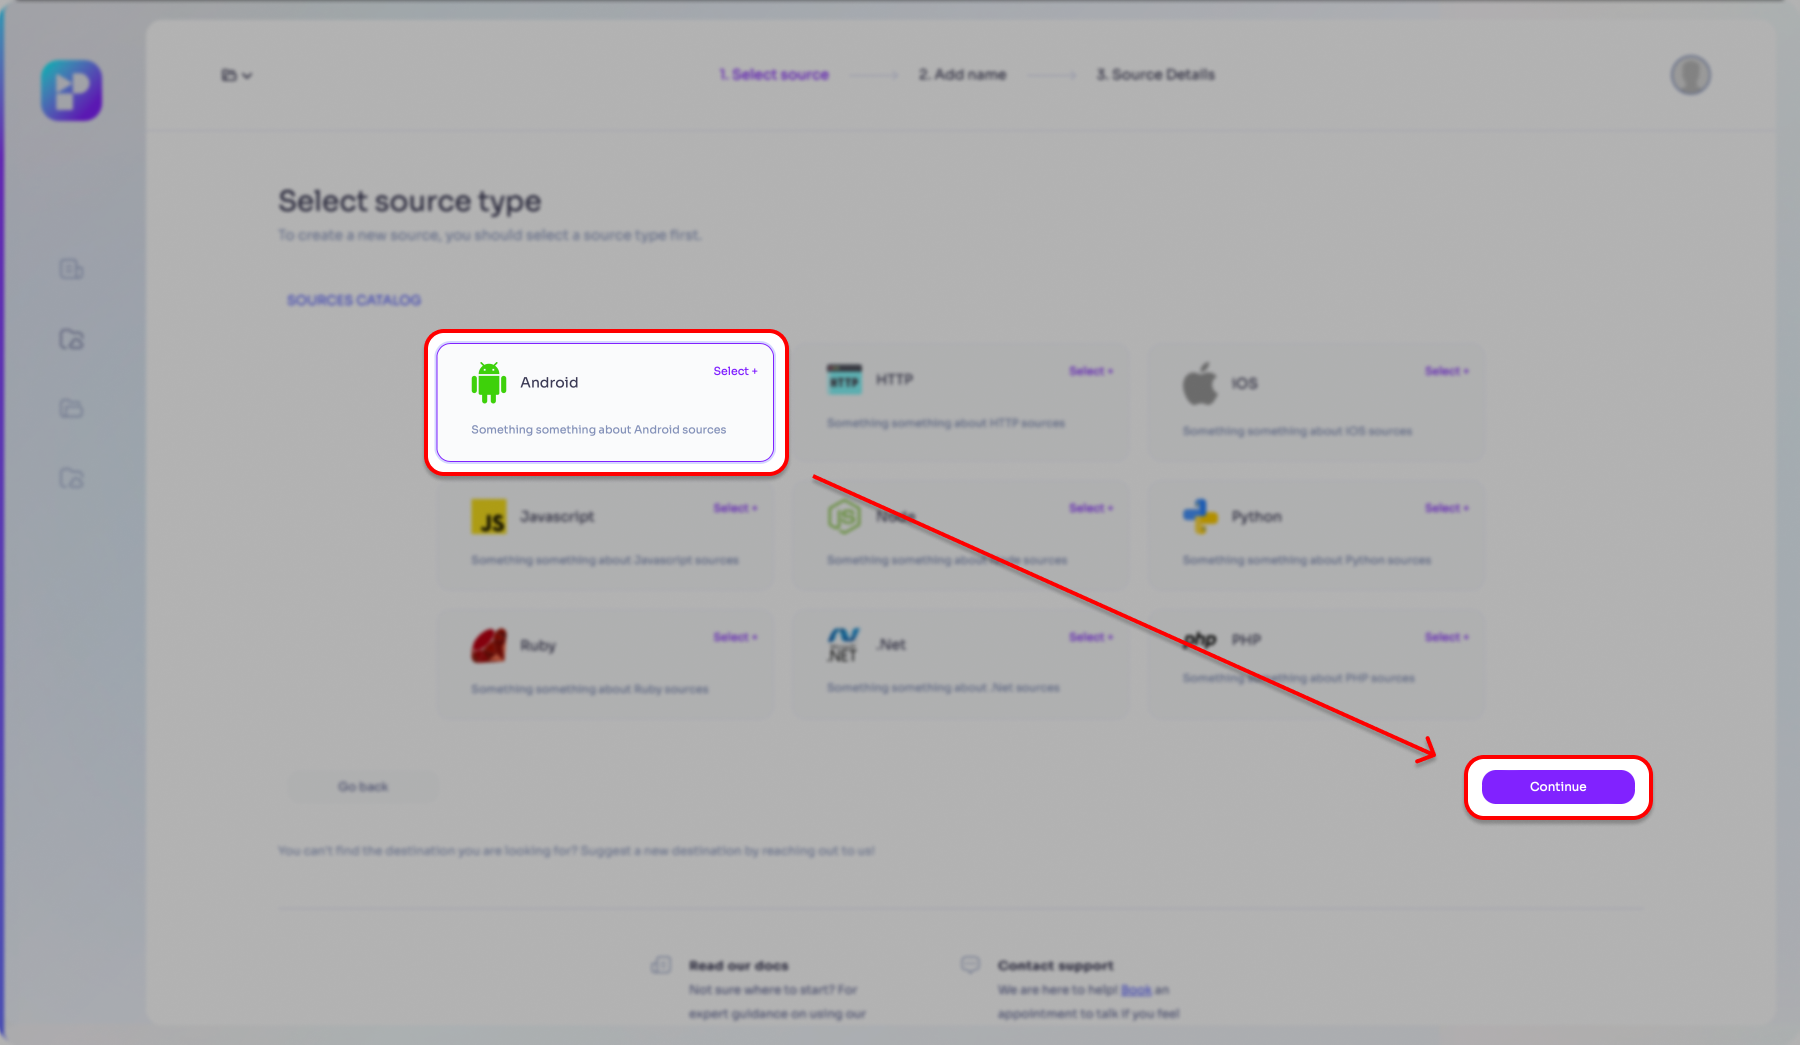
- Select the Android Data Source option then click the 'Continue' button.
- Enter a name for your application (make sure it is an easily recognizable name for ease of general use within Persio), then click the 'Next' button
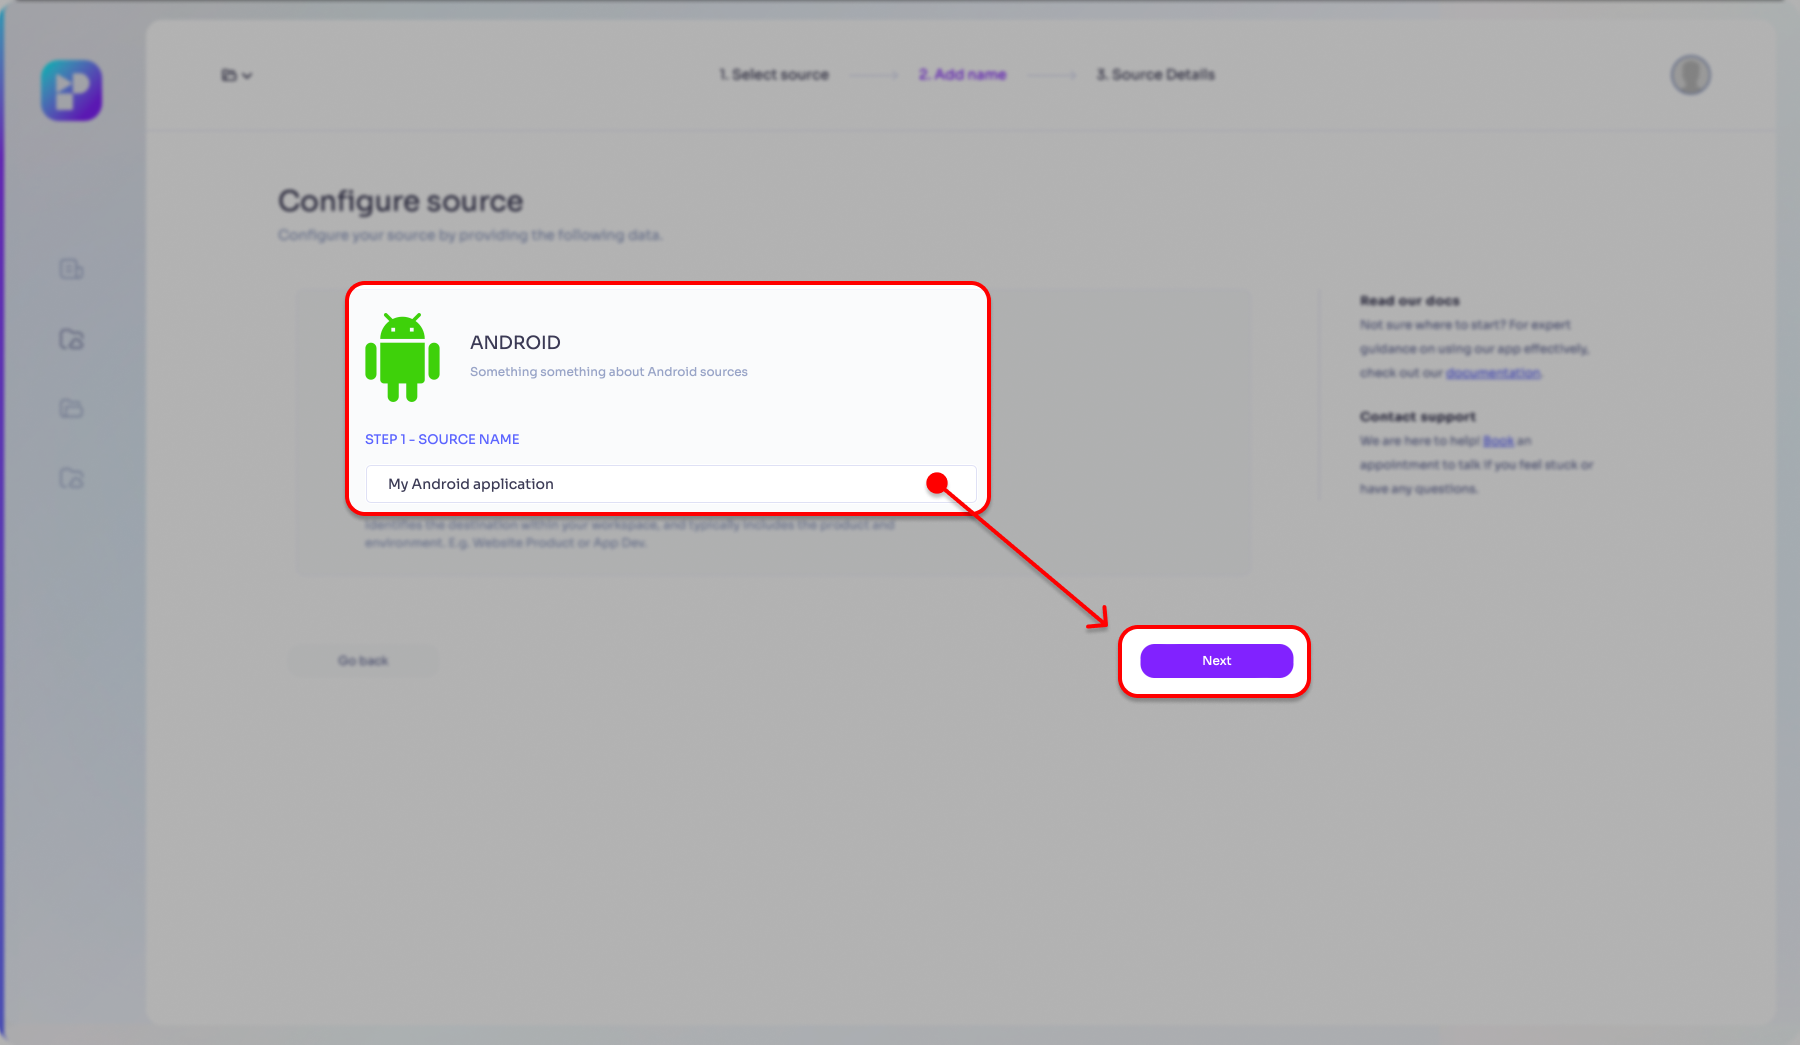
-
After a short background process your Data Source will be prepared and a
WRITE_KEYwill be generated. This is a very important data for achieving the integration between your application and Persio; you will need to share this key with your application development team.
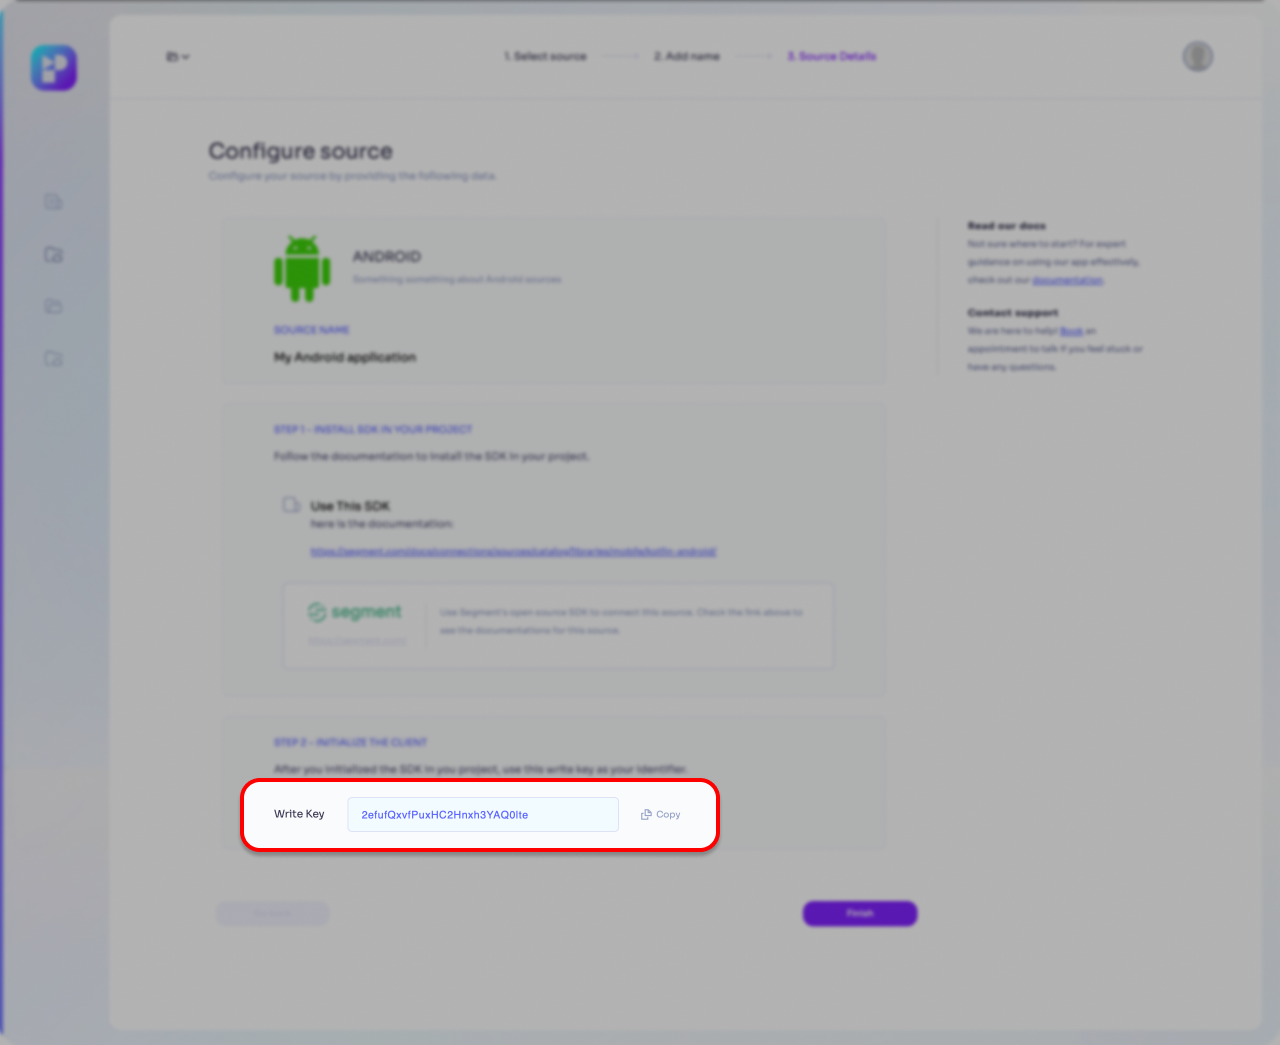
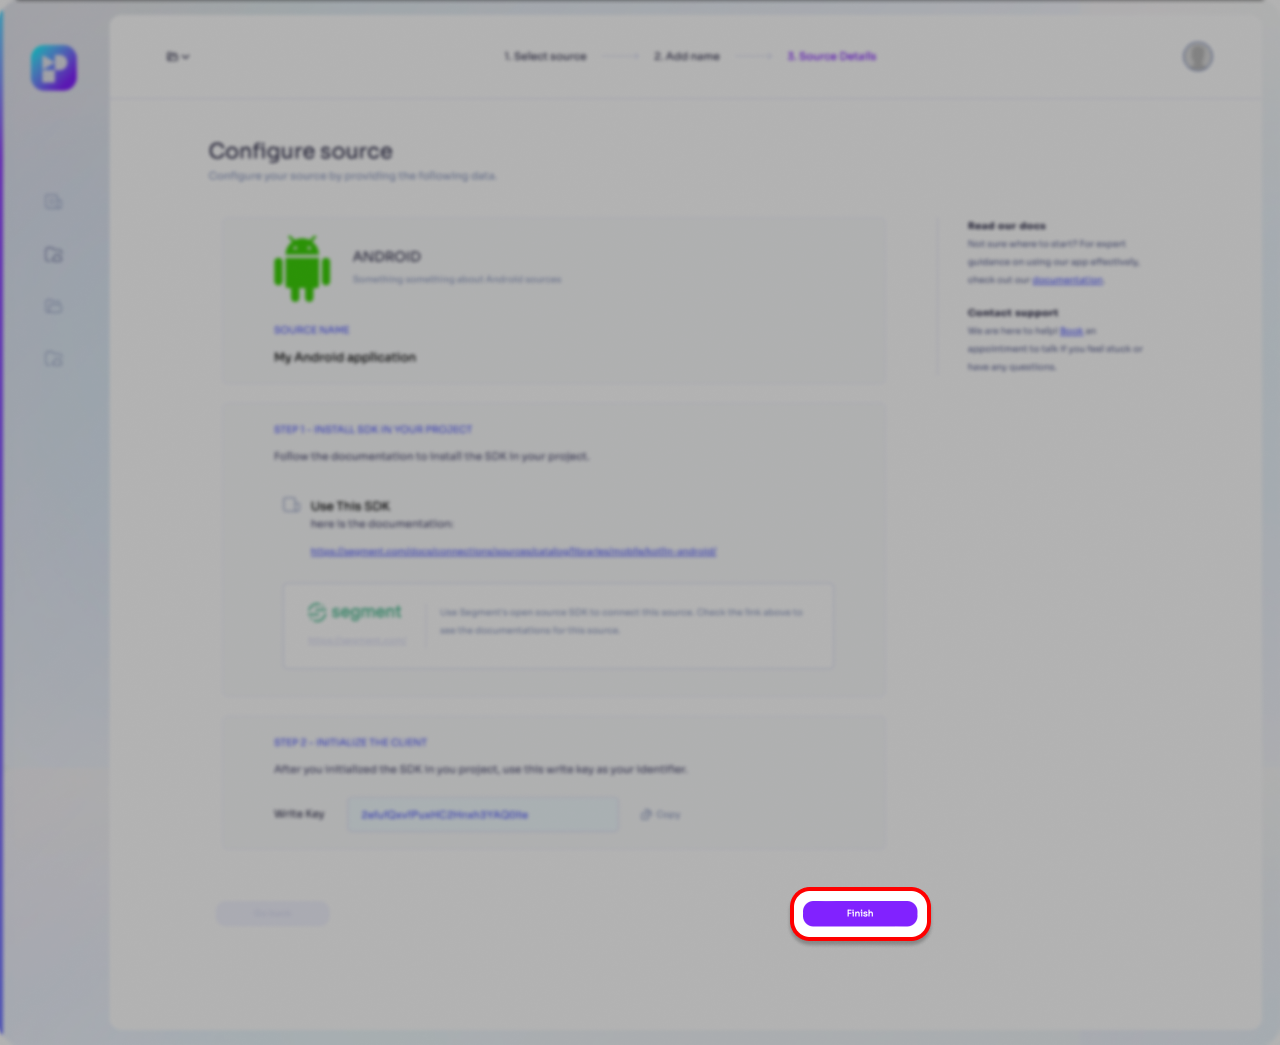
- Click the 'Finish' button to finalize the Data Source entry.
- You will be redirected back to the Sources page where your newly created Data Source will appear on the list of Data Sources, enabled and ready to use.
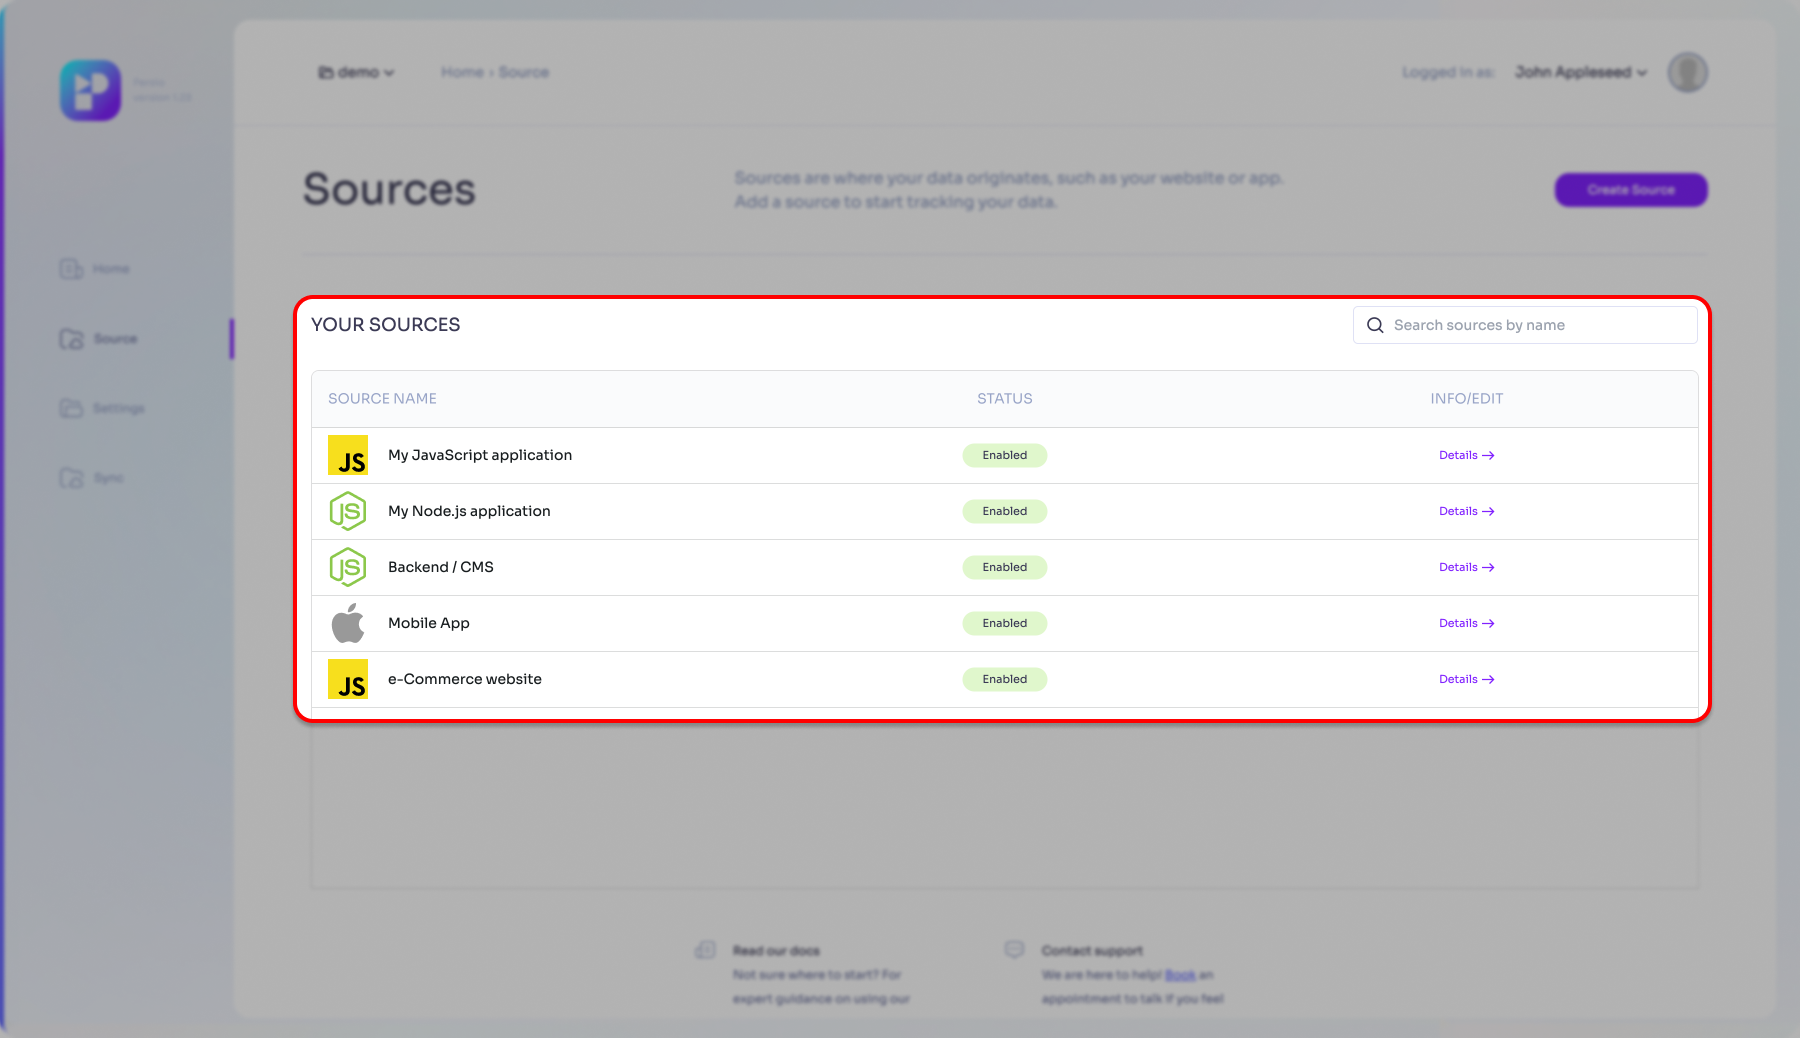
At this stage you have already configured Persio to accept data from your Android application. Now it's is time to continue and prepare your application to be able to send data towards Persio.
B) Configure your Android application
www.segment.io
For a comprehensive overview and advanced configuration options of the Kotlin/Android integration using the Segment SDK, please visit the Segment SDK documentation. This resource provides detailed information to help you effectively utilize the SDK's features and maximize your Android application's performance.